
The new, integrated Rubric course tool makes it easy to grade student work using a rubric right in the Learning Studio gradebook. A streamlined rubric creation tool allows you to use the same rubric for multiple assignments, or to create unique rubrics to use for grading different types of student work. Rubrics will copy over within Pearson Learning Studio just like the rest of the gradebook set-up, making getting ready for a new semester simpler than ever. Please review the knowledge article below or watch the instructional video to get familiar with the rubric creation process, and start using rubrics to give your students valuable, efficient feedback.
Pearson LearningStudio’s Rubric Course Tool
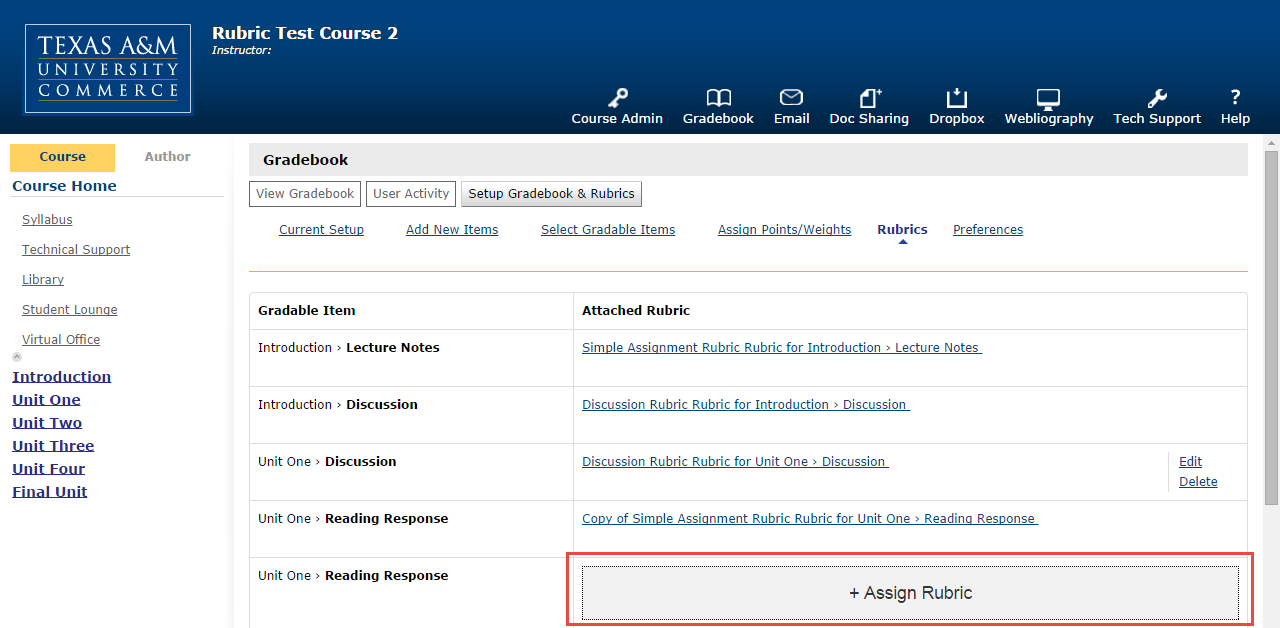
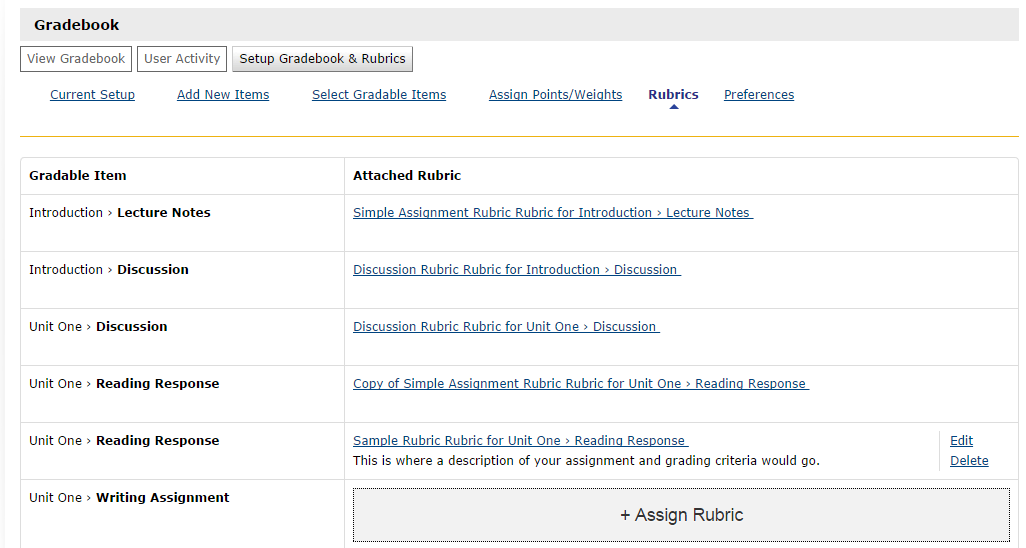
The new, integrated Rubric course tool makes it easy to grade student work using a rubric right in the Learning Studio gradebook. To create a rubric for your assignments, simply go to the Gradebook Set Up and click the link for the Rubrics tab.
Next, hit the button that says “+ Assign Rubric.”
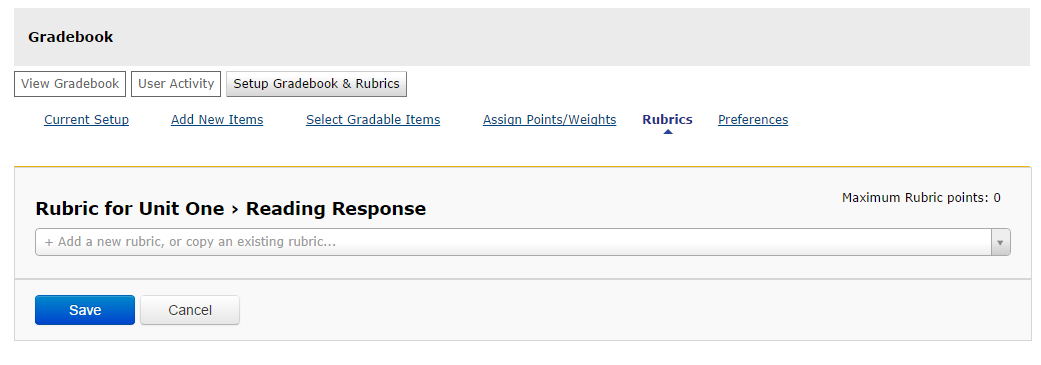
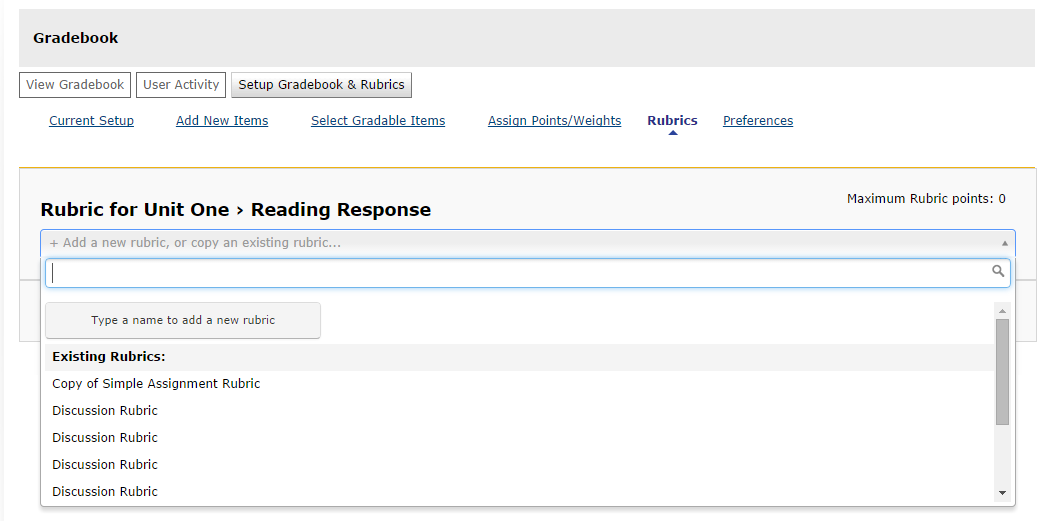
This will open the Rubric Builder. To begin, select “+ Add a new rubric or copy an existing rubric…” from the drop-down menu.
To add a new rubric, enter a name that will indicate what this rubric is for. This name is what the rubric for this specific assignment will always be saved as.
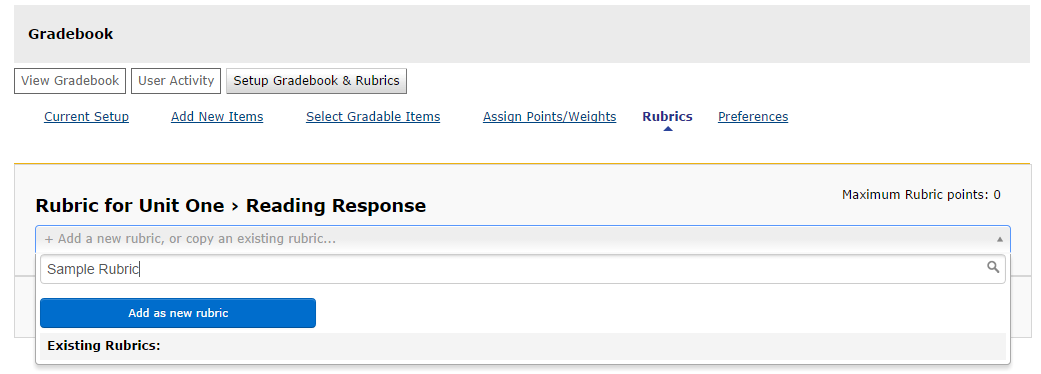
Then hit, “Add as new rubric.” You’ll come to a screen where you can start filling in your rubric. You’ll begin with a description of the assignment, in the Description box.

There are optional checkboxes under the Description area. If you want students to be able to see the rubric, and the rubric to decide the numeric grade in the gradebook, you must ensure these boxes are checked.
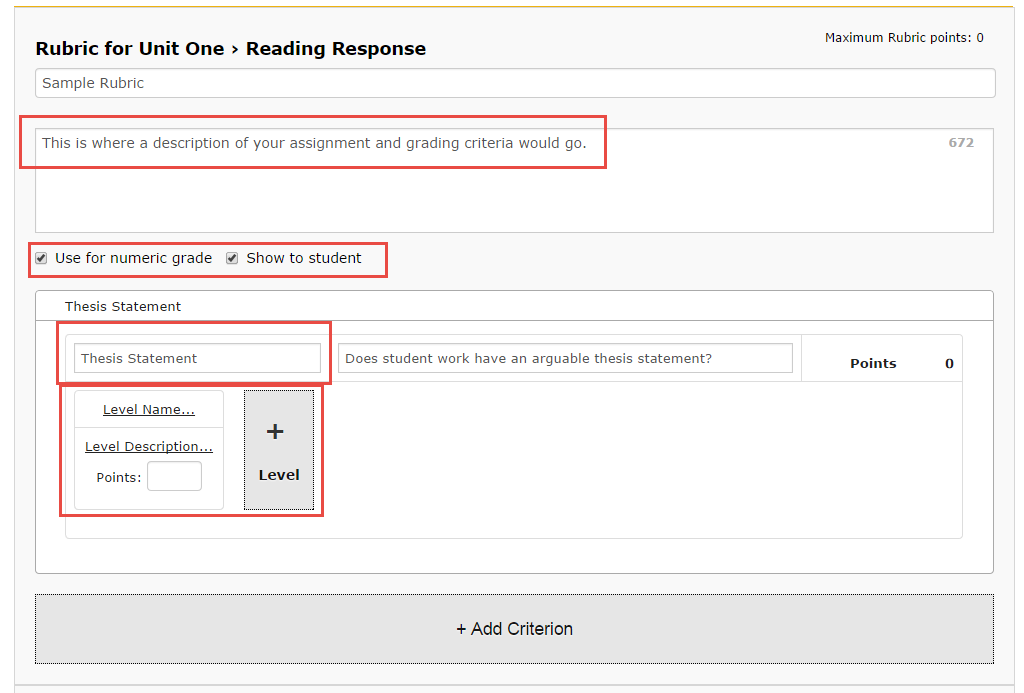
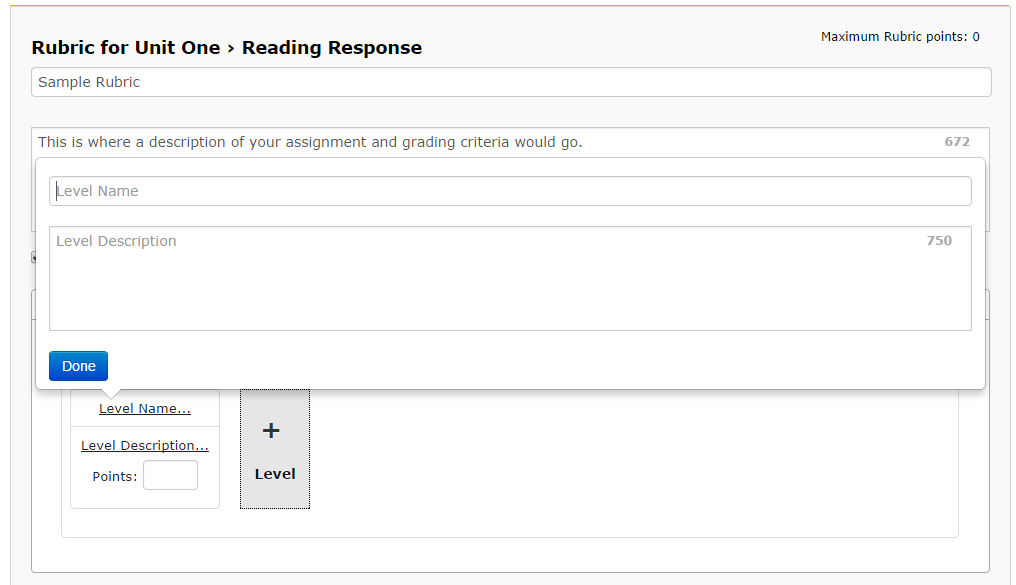
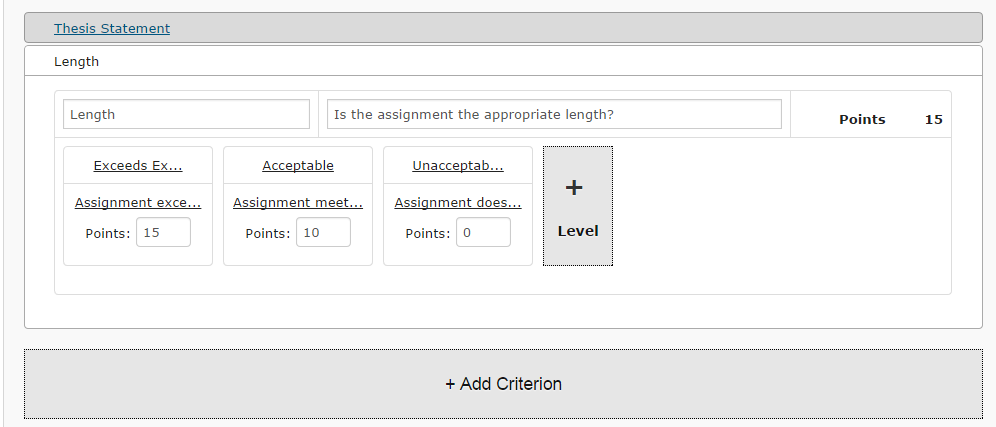
From there, begin entering the information for your criterion. For this example, I used the criterion “Thesis Statement.” I added a description of what students needed to do to be successful in this criterion, and then added two levels. To modify a level, simply click the level name or description links, and you’ll be prompted to fill in the appropriate information in a new pop-up box.
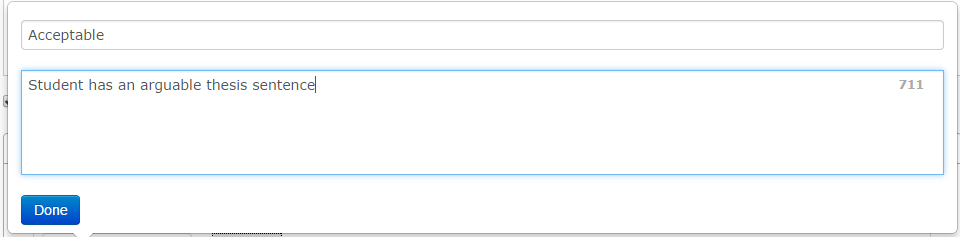
You should have at least two mastery levels per criterion, one “acceptable” and one “unacceptable.”
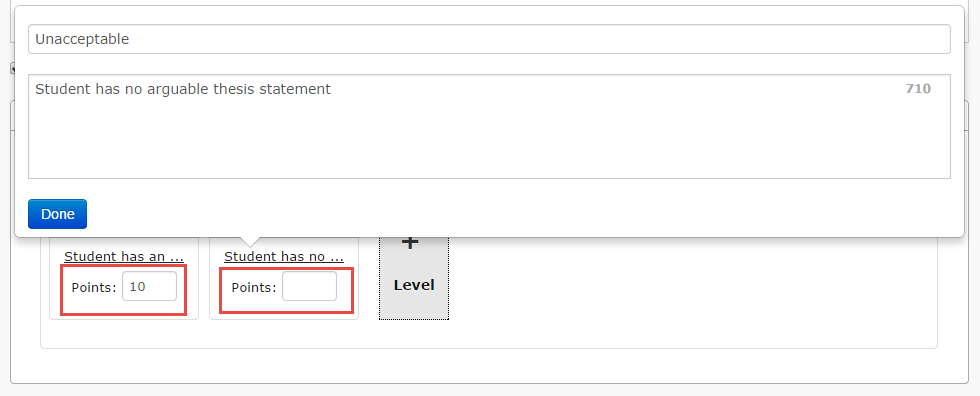
You can have as many levels as you like, though. Your highest level should have the full points value possible for each criterion, while your lowest level should have zero points.
Continue to add criterion until you are finished. Then, return to your gradebook set up. You should now see your rubric attached to an assignment. If you’d like to use the same rubric for another assignment, simply click “+Assign Rubric” and then select the rubric you want to copy from the drop down menu.
Grading with Rubrics
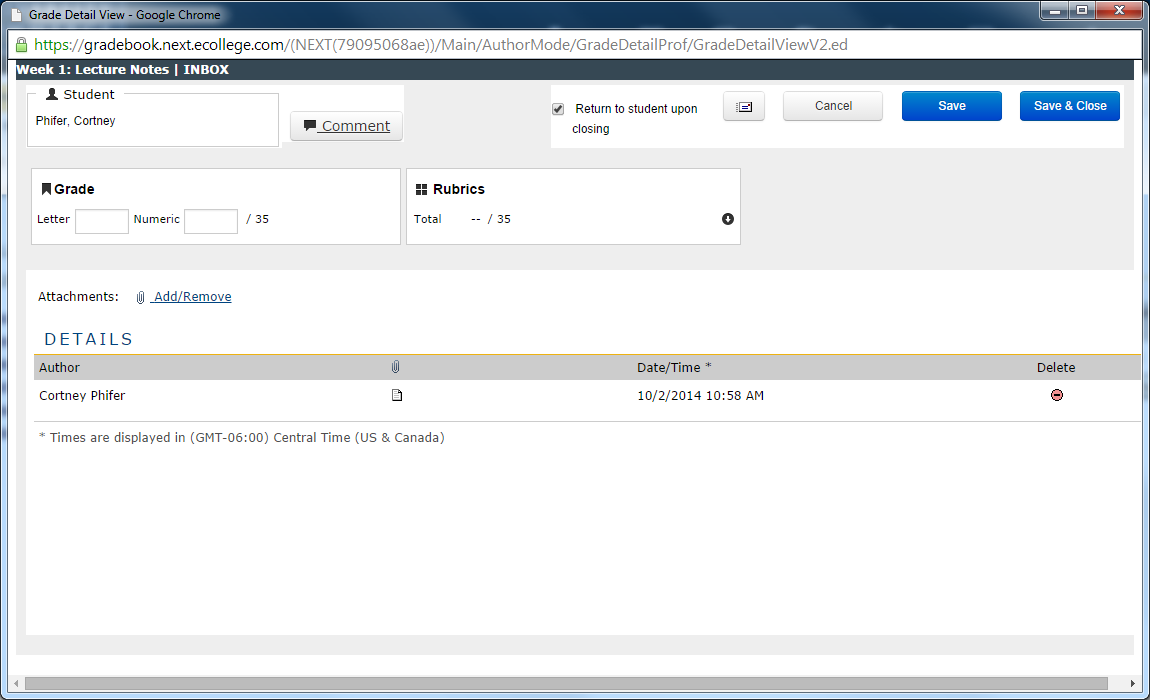
To grade with the integrated rubric, go into Dropbox or gradebook and open the student’s grading window. Click the small arrow on the bottom right hand side of the Rubrics block.
This will open the rubrics menu. Here you’ll see the criterion you’ve set up for this rubric.
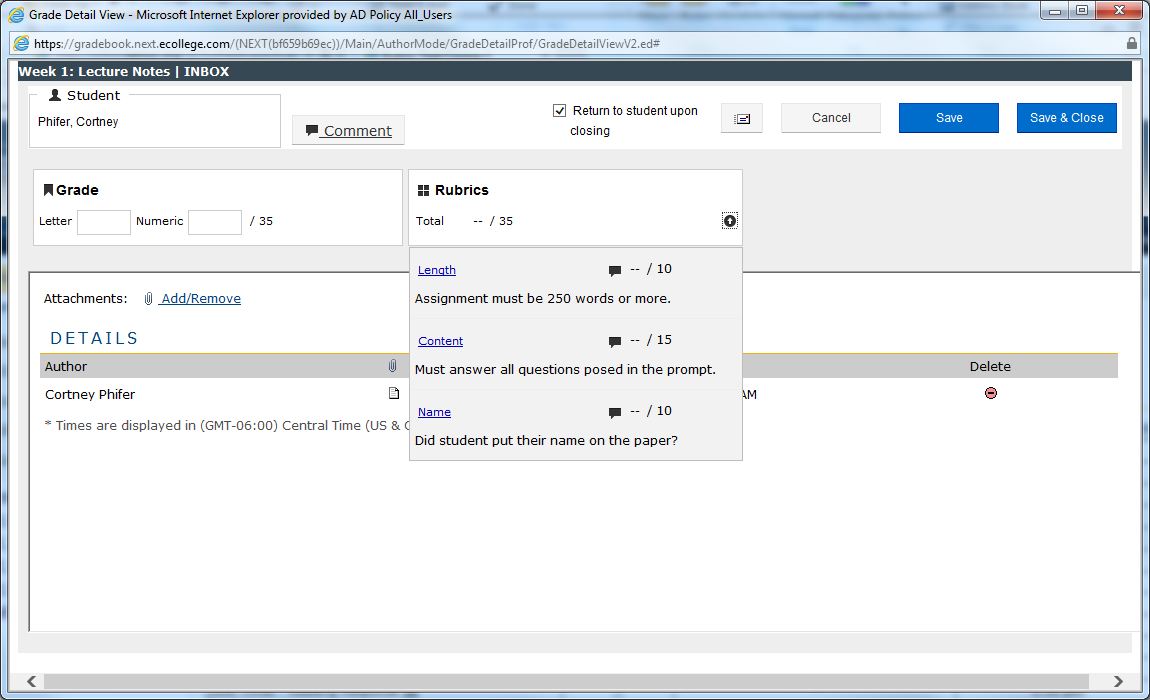
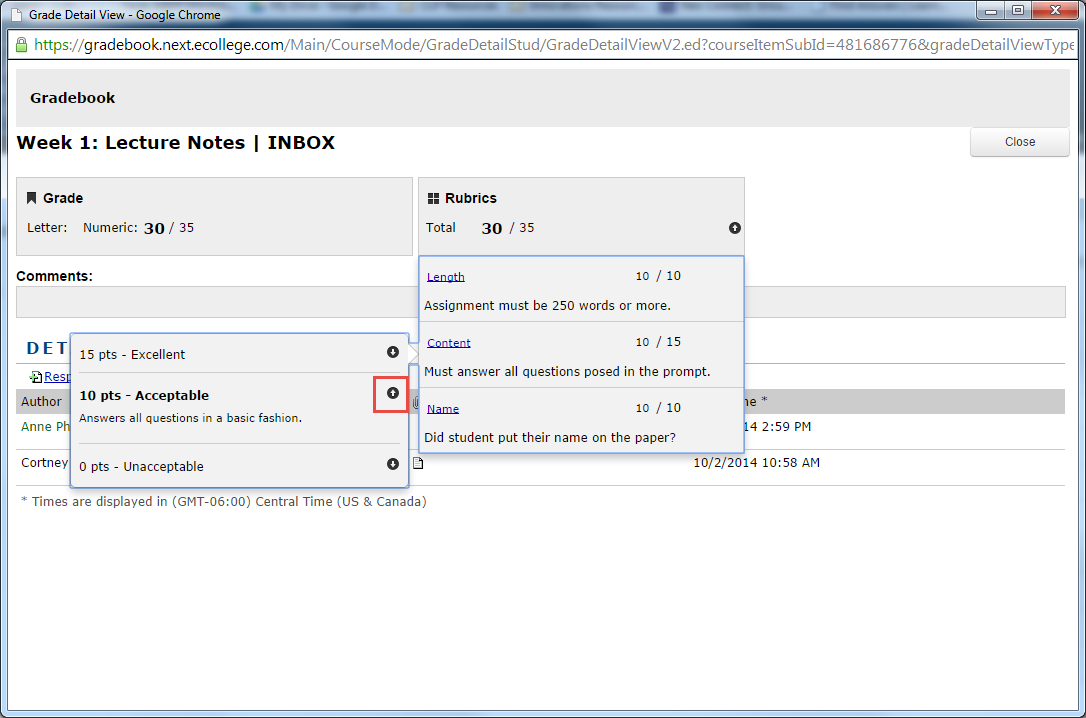
Select one of the criterion names, and another menu will pop out to the left. Here, you can select which level and points value the student receives for this assignment. If you input a description of the levels, they will be shown when you click the black circle around the arrow.
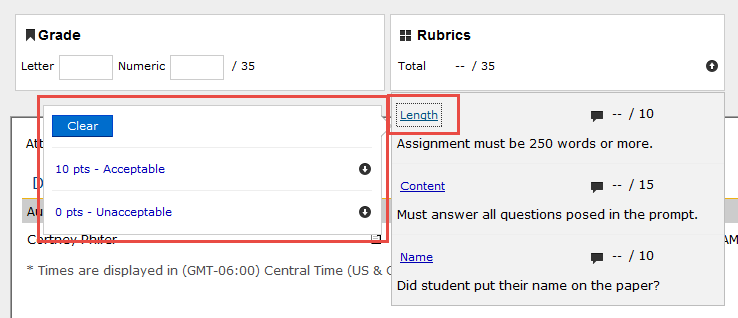
Once you’ve selected the level that is appropriate, the box will pop back in, and points will populate within the grade window as well as in the rubrics block. Please note: if you did not select “Use for numeric grade” the rubric block will populate, but the grade window will not.
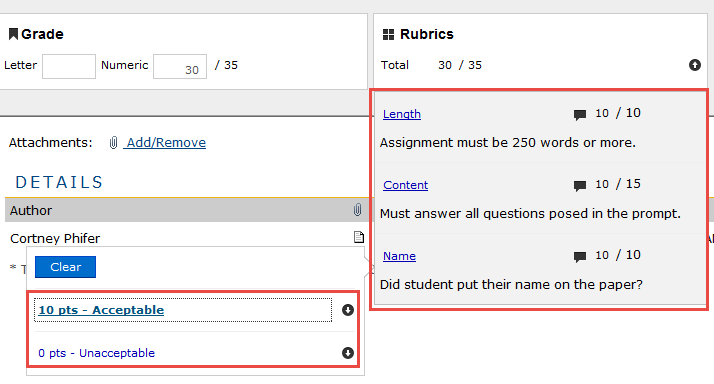
Save and close as you usually would. This will populate the student’s grade in the gradebook with the numeric grade generated by the Rubric selection. If you selected “Share with Student,” the student will see this numeric score when they open the gradebook as well as the rubric with any comments you’ve made.
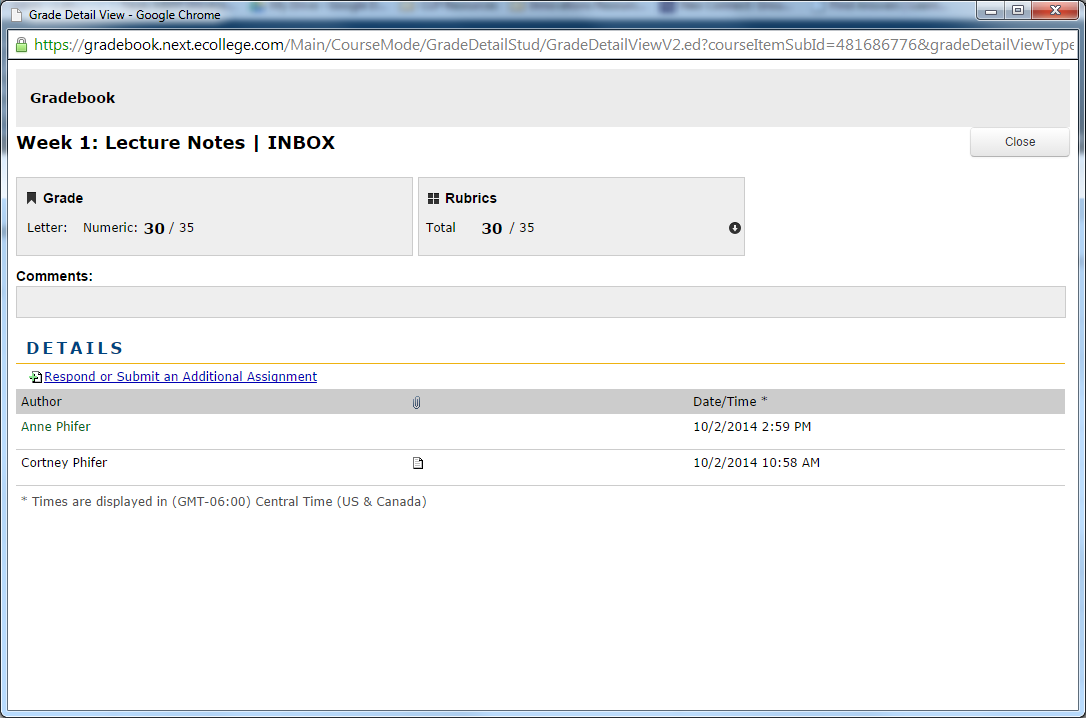
By clicking the down arrow in the same fashion you did to set up the rubric, students can seewhere their earned points came from by criterion.
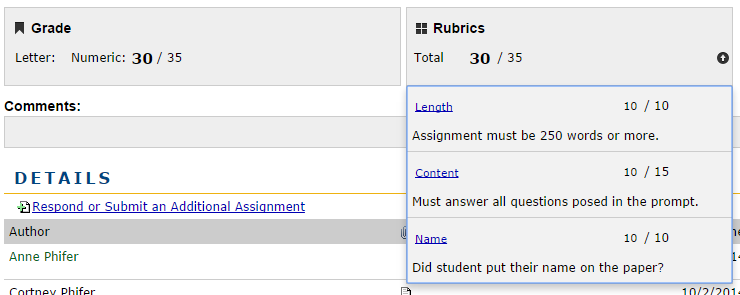
By selecting a criterion name, students can also see each level of the criterion. If they hit the down arrow below a level, they’ll see a description of the level, which can help address questions they might have about their grades.
Recent Comments